A small drip can lead to significant damage if left unchecked. If you’re dealing with a water leak in your Ovilla home, you need to act quickly and efficiently. Understanding how to identify the source and make the necessary repairs will save you time and money. Let’s explore the steps you can take to resolve this issue before it escalates further.
Identifying the Source of the Leak
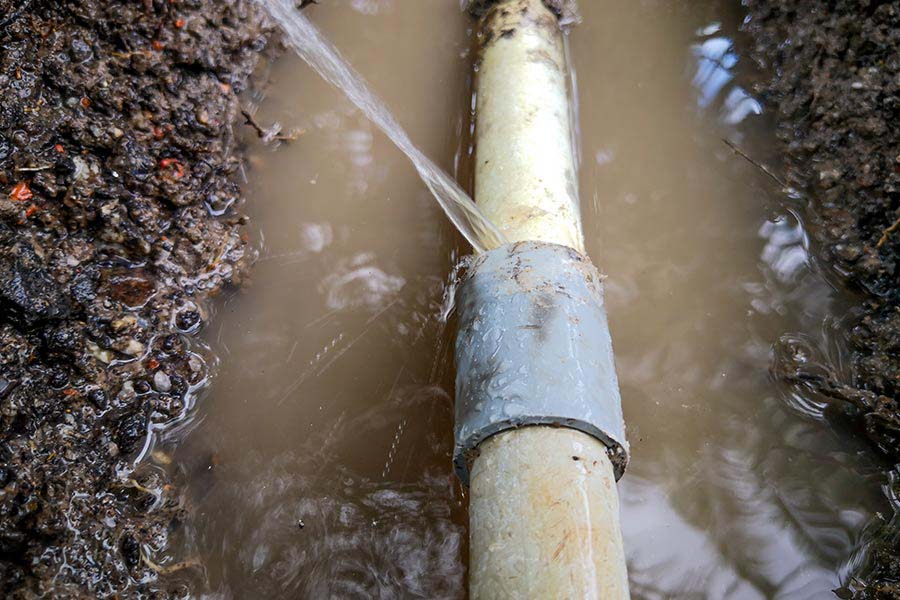
How do you pinpoint the source of a water leak? Start by inspecting visible areas like under sinks, around appliances, and near walls for water stains or dampness. If you notice puddles or soft spots on the floor, that’s a clear sign.
Next, check your water meter. Turn off all water sources in your home, then observe the meter for any movement. If it’s moving, you likely have a hidden leak.
Listen for unusual sounds, like dripping or running water, which can help you identify the leak’s location. Don’t forget about your outdoor areas; inspect hoses, sprinkler systems, and foundations.
If you’re still unsure, consider using a moisture meter for a more accurate assessment. Once you’ve gathered this information, you’ll be ready to fix the leak or contact a professional for help. Remember, timely repairs are crucial to avoid structural damage and health risks.
Shutting Off the Water Supply
Before you attempt any repairs, it’s vital to shut off the water supply to prevent further damage. This step is fundamental to guarantee your safety and minimize leaks during your fix.
Follow these simple steps to shut off the water supply effectively:
- Locate the Main Shut-Off Valve: This is usually found near your water meter or where the water line enters your home. It may be a round wheel or a lever.
- Turn Off the Valve: If it’s a wheel, turn it clockwise until it stops. For a lever, switch it perpendicular to the pipe.
- Check for Water Flow: Open a faucet at the lowest point in your home to relieve pressure and confirm that the water supply is off.
By shutting off the water, you also help prevent significant structural damage that can result from ongoing leaks.
Once you’ve done this, you’re ready to tackle the leak without worrying about more water spilling.
Gathering Necessary Tools and Materials
To tackle a water leak effectively, you’ll need a few essential tools and materials on hand.
Start by gathering a pipe wrench, adjustable pliers, and a set of screwdrivers. These tools will help you access the leak and make necessary adjustments.
Next, stock up on materials like plumber’s tape, putty, and a selection of replacement washers or O-rings, depending on your specific leak type.
A bucket or towels will come in handy to catch any excess water during the repair process.
Don’t forget safety gear! Gloves and goggles will protect you from debris and potential splashes.
If you’re dealing with a more complex leak, a flashlight can help illuminate dark spaces. Additionally, consider contacting a professional for reliable toilet repair to ensure a thorough resolution to your plumbing issues.
With these tools and materials ready, you’ll be well-prepared to address the leak promptly and efficiently.
Repairing the Leak
Identify the source of the leak and prepare to make your repairs. Once you’ve pinpointed the issue, it’s time to take action.
Follow these steps to effectively repair the leak:
- Shut off the water supply: Turn off the main valve to prevent further water flow while you work on the repair.
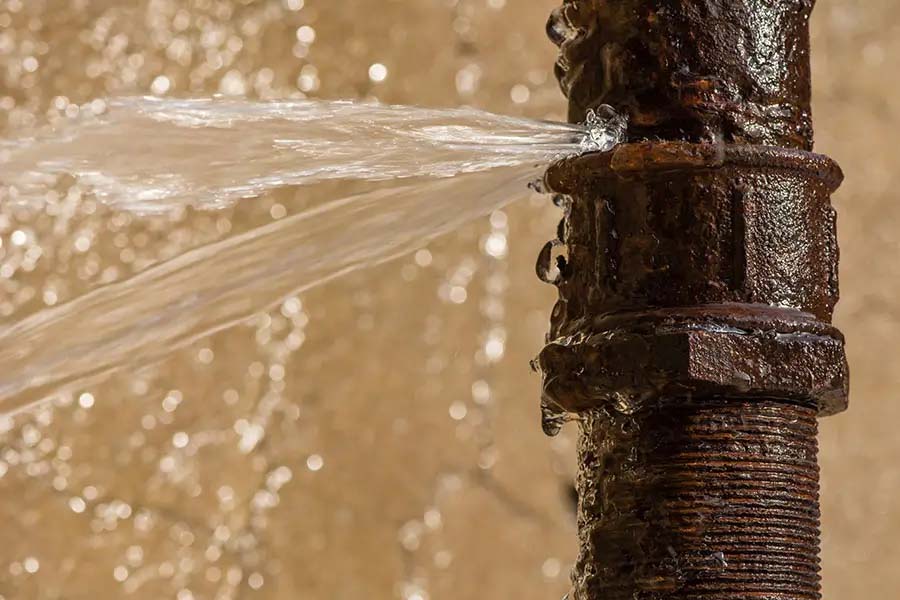
- Fix the leak: Depending on the type of leak, you might need to tighten a fitting, replace a section of pipe, or use a repair clamp. Be sure to follow the specific instructions for your repair method.
- Seal the area: After fixing the leak, use plumber’s tape or a sealant around joints and fittings to guarantee a watertight seal. For more complex issues, consider professional help from expert drain repair services to ensure a long-lasting solution.
Once you’ve completed these steps, it’s essential to monitor the area for any signs of recurring leaks.
If you’re uncertain or the problem persists, consider reaching out to a professional for assistance.
Testing the Repair and Monitoring the Area
After you’ve fixed the leak and sealed the area, it’s time to test your repair and keep an eye on the situation.
Start by turning the water back on and observing the area where the leak occurred. Watch closely for any signs of moisture or dripping. It’s crucial to check not only the immediate repair but also the surrounding areas, as leaks can sometimes affect nearby spots.
Next, consider using a moisture meter to verify everything’s dry. If you notice any dampness, you might need to re-evaluate your repair.
It’s wise to monitor the area over the next few days, checking periodically for any changes.
If you encounter issues or feel uncertain, don’t hesitate to reach out to professionals like Benjamin Franklin Plumbing of Duncanville. Their expertise guarantees that your repair is reliable, and they stand by their work, providing you peace of mind.
Conclusion
In summary, fixing a water leak in your Ovilla home does not have to feel intimidating. By following these steps, you can confidently handle the issue and help prevent further damage. If the leak is persistent, hard to locate, or involves a pipe, water heater, or main line, calling professional plumbers in Ovilla, TX is the safest way to protect your home and restore reliable service. Remember to monitor the area after your repair to make sure everything stays dry, and with a little patience and the right tools, you can keep your home safe from future leaks.